

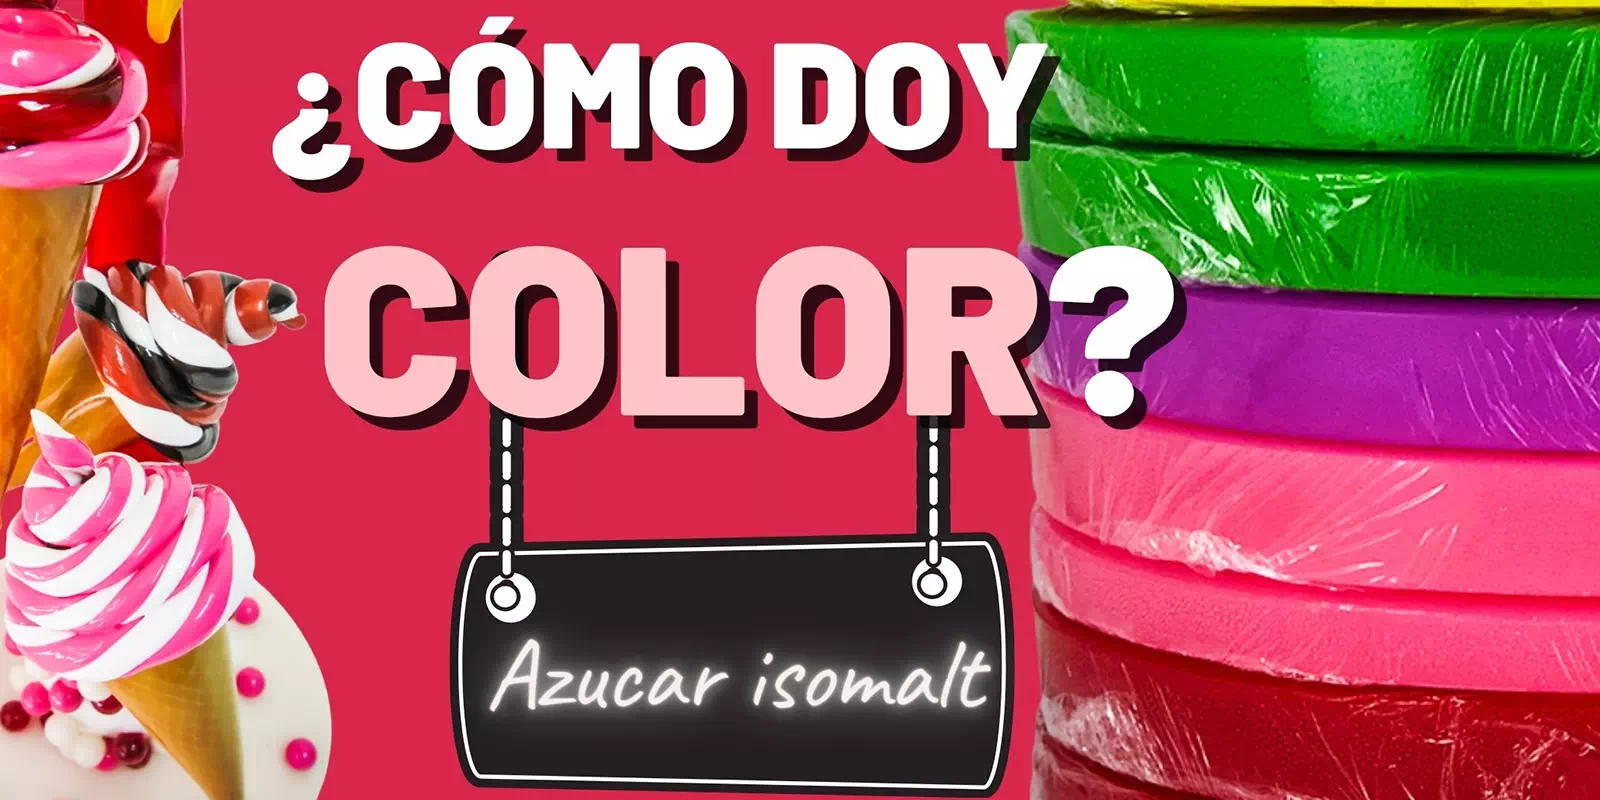
EIn this post, I’m going to talk about isomalt and color, and how to use dyes . The blog article has been updated and expanded with an explanatory video tutorial, which I’m sure you’ll find very helpful. Before you start working with the color, you should have the isomalt already cooked. If you don’t know how to cook isomalt, I’ve included a link to the cooking tutorial at the end of the post.
Having said that, let’s get right into the technique that interests us.
Isomalt and color
Once the cooked isomalt is ready, it’s time to dye it. You’ll see on the internet, in various places, that it can only be dyed with powder, or only with liquid. Is this correct? No. You can use any dye— powder, liquid, gel, or paste—as long as it’s water-soluble. I’ll explain how to use each one.
The dyes used to color isomalt must always be water-soluble, or in other words, soluble in water.
Liquid and gel dye
- We can add it directly to the candy.
- If the gel food coloring brand is too thick, then I do recommend diluting it with a little water.
Coloring paste or powder
- You should always dilute it in water, because if you add it directly it won’t integrate well with the isomalt.
Differences in effect
When we dye isomalt, the resulting color is translucent. If we want an opaque color (one that doesn’t allow light to pass through), we need to add a little white dye. Keep in mind that if we want a deep, opaque red, we’ll need to add more red than usual to counteract the white we’ve already added.
Be careful, add the desired color first; don’t make the mistake of dyeing it white first, because it will be much harder to achieve an intense red or the intense shade you have chosen.
Learning to manipulate color
What I recommend is that you always mix the colors separately, in a small glass. Once you have the color you want, it’s ready to start dyeing. As I mentioned in the post about cooking isomalt, we use water to give the isomalt sugar elasticity. We’re going to use that water to dissolve the dyes. If we’re cooking one kilo of isomalt and we’re going to dye half a kilo one color and half a kilo another, we put two small glasses with 10 ml of water (more or less) in each and add the dye we think is appropriate until we get the desired color.
You should keep in mind that isomalt only needs a small amount to take color. We achieve the desired color with very little dye because we start with a transparent raw material. Amazing, isn’t it?
How much isomalt is best cooked to give color?
I always advise that if you’re going to cook something , don’t do it for a small amount. The cooking part is always the least fun, so since you’re going to do it, cook at least a kilo.
What if I don’t want to color everything I’ve cooked?
Color the candy you need and keep the rest until you need it again , whether colored or uncolored.
Bonus: Learn how to store isomalt.
The metallic color
We’re talking about one of the wonders of isomalt that I’m totally in love with: the metallic color.
Did you know that isomalt is the only raw material in the world of sugar that retains metallic colors? Yes, you read that right. If I tint isomalt sugar gold, it stays gold; it’s not like fondant or chocolate, where if you want a gold finish you have to paint it after it’s made. Pretty cool, right?

Video tutorial “Coloring isomalt sugar”
I’m completing the post with my latest video tutorial on isomalt and color, which will help you supplement the information you see in this article.
Finally, you might be interested in reading the post about how to make your own metallic food coloring, or the tutorial on cooking isomalt.
And that’s it. With what you’ve learned in this article, you can start working with color.
I hope you enjoy it!
I LOVE ISOMALT!









Leave A Comment