

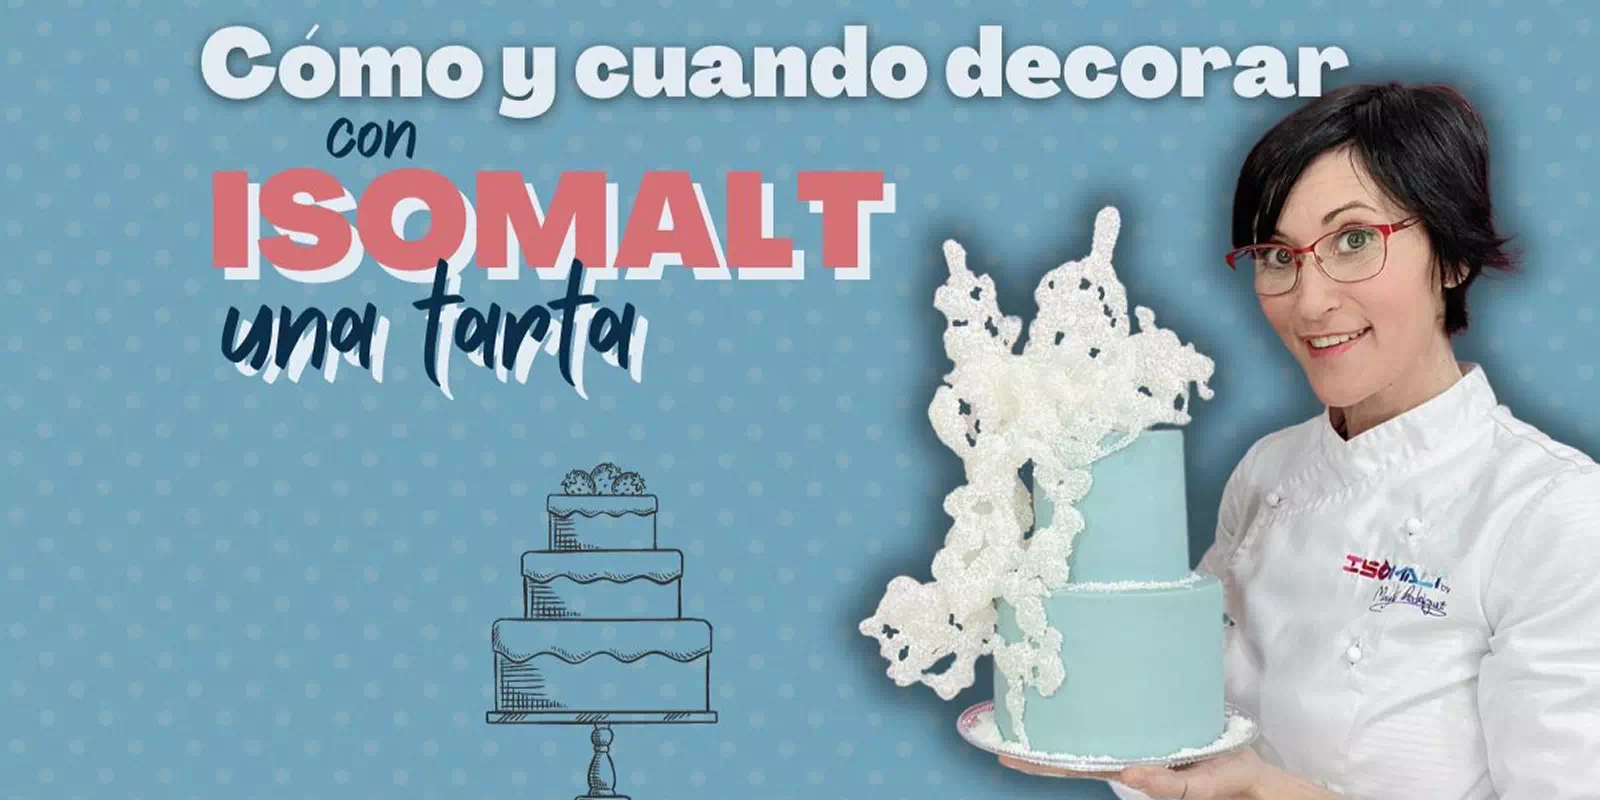
CWhen should I make the isomalt decorations for a cake? How should I arrange the isomalt decorations on the cake? How far in advance should I make the isomalt decorations?
These are the questions we always ask ourselves when facing the challenge of decorating a cake with isomalt. Although the planning process raises many doubts, in this article I’m going to answer them so you can decorate a cake with isomalt decorations without any problems.
In theory, isomalt doesn’t last long, it absorbs moisture, and it doesn’t give us much room to maneuver. That’s the theory, but in practice it’s not like that, since preservation comes into play. Imagine you have to deliver a cake to a customer and then spend an hour beforehand making the isomalt decorations so that they look spectacular when the customer picks up the cake. That doesn’t make sense and it doesn’t make our work any easier.
Anticipation and conservation
The first thing you need to integrate into your work with isomalt and internalize is the preservation of isomalt, so if you are not clear on it, I recommend that when you finish reading this article, you read the one that explains the topic of isomalt preservation.
Once you understand how to store it, I can tell you that you could make any isomalt decoration months in advance if needed. You could plan your work as far ahead as you need and store it until it’s time to place the decorations on a cake.
Placement and assembly
Starting with a finished cake, applying and assembling the isomalt decorations is very quick, so you can do it just minutes before the customer picks up their cake. The best adhesive for isomalt is isomalt itself.
If the isomalt decoration is large or heavy, it’s best to attach it with isomalt. Test where you want to place it, check where the decoration touches the cake, and at that point, apply a small amount of isomalt (preferably liquid) and press it down. If the isomalt isn’t liquid, use a kitchen torch to melt it so it adheres to the cake. Important: you must cool the joint completely and don’t let go until it’s cold. Using a fan will speed up the process.
If the isomalt decoration is small, you could use a blowtorch to gently melt the joint to the cake and attach it, or you could even use edible glue to attach the decoration to a cake.
Assembly according to the type of cake
If the cake is covered with fondant or an edible print, the assembly method is as I described earlier. You can decorate the top of the cake, the base, or the sides.
If the cake is covered with any cream, ganache, meringue, frosting, etc., you can no longer decorate it as I described earlier. In this case, you can’t apply heat to either the isomalt decoration or the cake itself, because you’ll melt the cake’s covering. With this type of cake, you can only place the decorations on top, so you must decorate by placing them on the top and bottom.
Important
What should always be your priority is the safety of the decorations, not their appearance. If you only think about aesthetics and try to stick them in awkward positions, they’ll probably break. Use common sense when assembling them.
I hope this article helps and encourages you to fill your cakes with isomalt. Here’s a video to make it even clearer:






Leave A Comment