

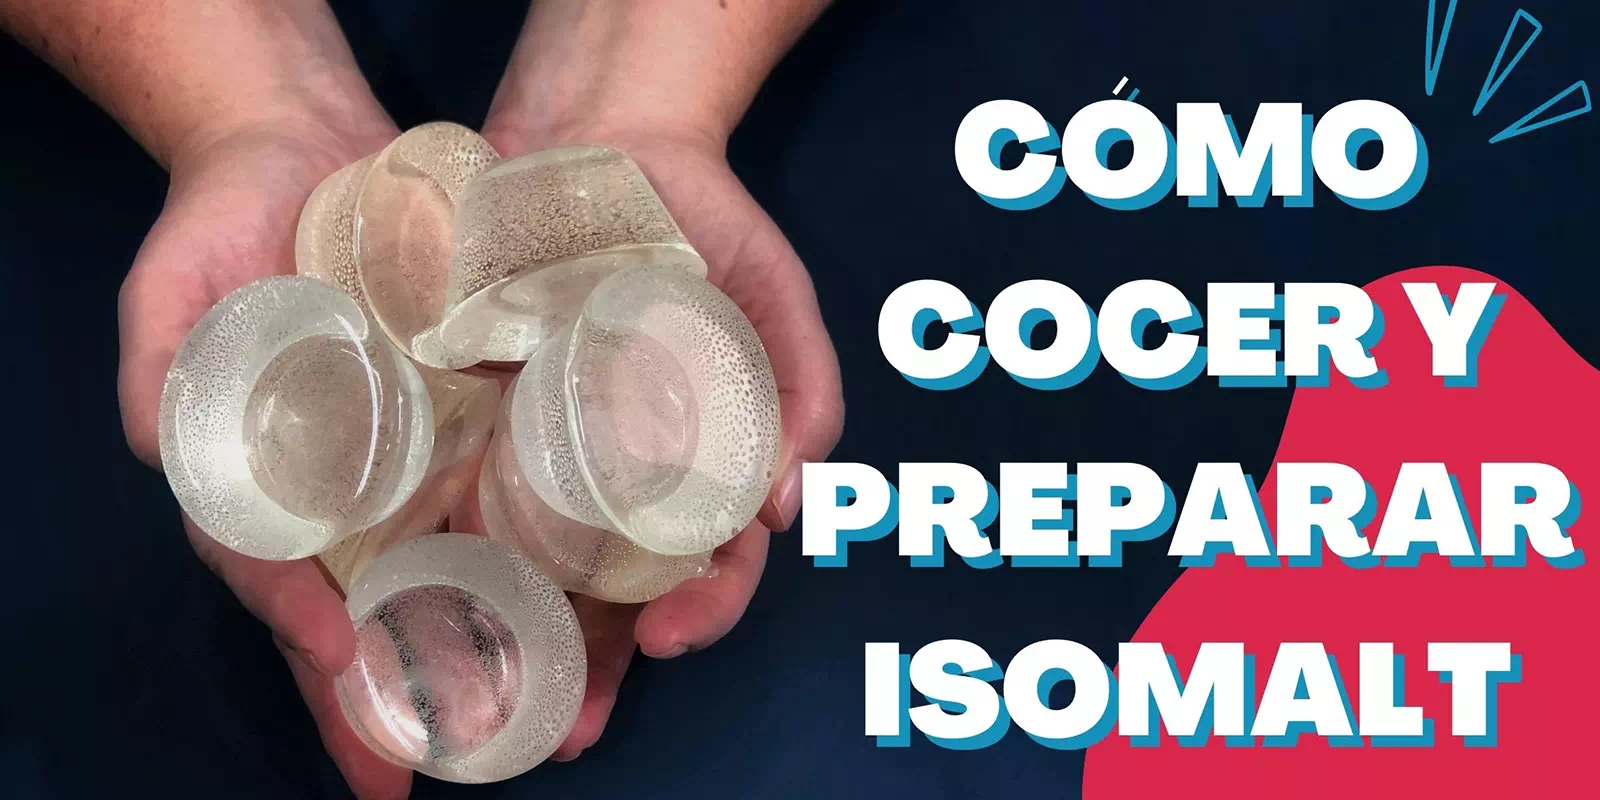
RI receive many questions about isomalt, and I would say that a very high percentage are always due to the same cause : the cooking of the isomalt. Although I’ve mentioned the cause—cooking—generally speaking, the three most frequent questions I receive are:
- Why does isomalt become opaque when it cools?
- How can I prevent the decorations from dripping shortly after I finish them?
- Why does my isomalt become cloudy when it cools?
When faced with these questions, I always ask another one: “At what temperature did you cook?” And the answer is usually the same:
– What? I only melted it.
Very important: isomalt must not only be melted, it must be cooked.
Let’s solve these problems and more. To do this, I’ll explain the cooking process and what utensils you’ll need.
What do I need to cook isomalt?
First of all, we must have the necessary utensils ready for this.
- Induction hob.
- A saucepan suitable for induction cooking.
- Wooden shovel.
- Thermometer.
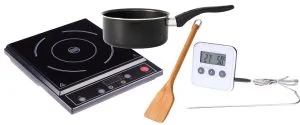
Induction hob
My advice is to use an induction hob, as it works best for our purpose. However, you can use any type of hob, whether ceramic, gas, or electric. Induction hobs work using magnets, which means that the entire base of the pan placed on the hob receives heat, regardless of its diameter. This makes the energy more efficient and better distributed. With induction, the heat is applied to the bottom of the pan or pot without the risk of overheating the walls. This minimizes the risk of burning any remaining isomalt on the walls.
As I mentioned, you can use other heat sources, such as a ceramic hob or gas stove, but you have to be much more attentive to the cooking process because the heat isn’t distributed evenly. This is especially true with a gas stove, as the sides of the pan can overheat and the isomalt residue stuck to the walls could caramelize or burn. Just keep this in mind and make sure it doesn’t burn.
Thermometer
I advise you that, if you don’t have a thermometer and need to buy one, get a digital thermometer with a probe like the one in the previous photo, or one that you can attach to the side of the pot. It will always be more convenient not having to hold it in your hand. You can use any thermometer as long as you know exactly how accurate the temperature reading is. A little trick: the thermometer needs to be quite accurate. Sometimes we have a cheaper one at home, one of those that aren’t usually very precise; you can use it without a problem as long as you follow the next tip.
First, you need to check the thermometer’s accuracy. How do you do that? Easy. Bring water to a boil in a pot or saucepan. We know water boils at 100°C. Once it starts boiling, submerge the thermometer and check the temperature reading. This will tell you how accurate your reading is. If it reads 90°C, you know it’s 10°C lower than the actual temperature, and you’ll need to adjust accordingly to reach the desired temperature.
Wooden shovel
I only use a wooden spatula for baking. You can also use a silicone one, but don’t use silicone spatulas where the silicone and the handle separate because it will end up sticking to the isomalt; use ones that are a single piece. Before I start explaining the cooking process, I must point out something important.
Always keep in mind that it’s much harder to cook a small amount than a large one, and also remember that the cooking process is always the least fun or least interesting part of working with isomalt sugar. So my advice is that if you’ve bought one, two, or three kilos, when you’re about to start cooking the isomalt, cook it all at once. Once it’s all cooked, portion it out and store it.
That said, let’s begin the cooking process.
Cooking and preparation of isomalt
First, divide the amount of isomalt you’re going to cook into three or four parts. If it’s a kilo, dividing it in two will be enough . You don’t need to weigh it, just divide it by eye. Start with the stovetop at a very low temperature; the idea is for the isomalt to dissolve gradually and slowly. At this point, you don’t need to rush. Tip: Don’t stir constantly, otherwise the sugar will crystallize and the final result will be less crystalline. Just give it a couple of turns with the spatula now and then; this will help it melt properly and also ensure that the isomalt at the bottom doesn’t burn.
Once you see that the first part is almost completely dissolved, add the next part and repeat the same process. When all the parts are dissolved, make sure no isomalt is stuck to the sides of the pan and stop stirring to avoid introducing too much air. At this point, when everything is dissolved, you’ll see it start to foam; don’t worry, this is normal, it’s just releasing excess moisture.
Now is the time to put the thermometer in; there’s no need to put it in before.
Turn the induction hob to its highest setting so it reaches the required temperature as quickly as possible. The temperature should reach 180ºC. Once it reaches that temperature, turn off the hob and let it rest for a bit until the bubbles subside. Then it’s ready to use, whether for portioning or coloring. The process is very simple, but it’s normal to feel a little nervous the first time. You’ll see how with a little practice you’ll get completely used to it. It’s important to know how isomalt reacts when it’s undercooked, so I encourage you to read the article: ” Did I Cook the Isomalt Correctly?” In it, I explain the reaction of isomalt whether you don’t reach the correct temperature or if you overcook it. (article “Did I Cook the Isomalt Correctly”)
Bonus: Learn how to color isomalt.
I hope you find this article helpful. If you have any questions, please leave a comment.
Have you seen our online course on isomalt cooking?
In this course, you’ll learn, in a practical way, how to cook isomalt correctly. Mayte will teach you each step of the cooking process, each phase, and how to identify potential problems. She’ll give you valuable tips and advice. You’ll have lifetime access to the course and can ask any questions you may have.
-
¡OFERTA!
Course Learn to Cook Isomalt
35,00€Original price was: 35,00€.29,90€Current price is: 29,90€.







Leave A Comment